
18
Jan

With Amazon Lightsail, you can deploy a virtual private server with just a few clicks using preconfigured images for your favorite Linux distribution, application, or dev stack. It is reliable, scalable and cost effective. Which makes it ideal for students, developers who want to experiment.
Lightsail offers the following in their plans
Alright, lets check the basic requirements,
Okay, assuming you have a domain name and an account with amazon Lightsail lets get started.
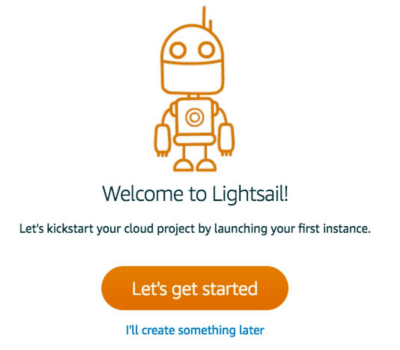
Login to you account and you will be greeted by this awesome robot. Click lets get started.
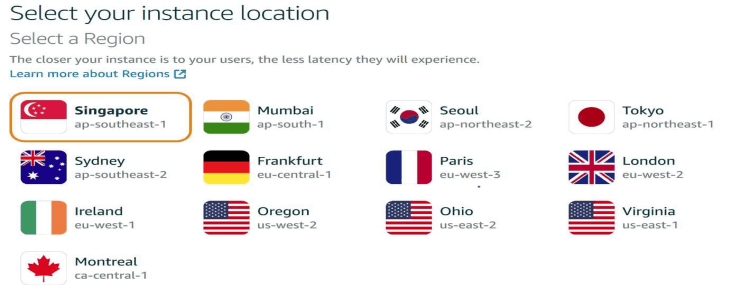
Once you click “Let’s get started”, you need to select the location where you want to host your server. Choose the location closest to you.
Once you have selected the location, select the operating system. In our case, we are choosing Linux/Unix as our operating system.
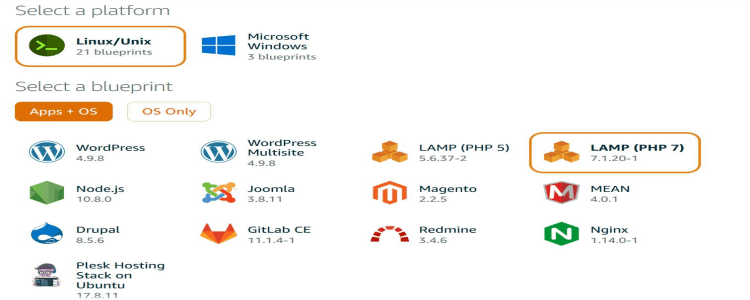
Now, there are 3 ways we can create a server to host the joomla website.
We will set up server using 2nd option. What? are you crazy? why not the easiest option. Well, I will list my reasons and you can decide
Select the LAMP stack and choose the plan.
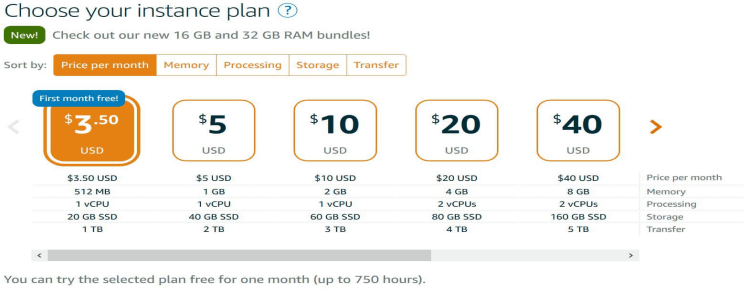
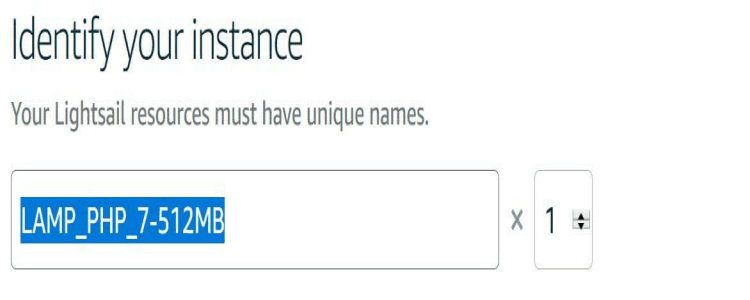
Name your instance and click create instance and you are done creating the LAMP stack.
Next we have to install Joomla.
The instance will take few seconds to start. Once it is up, you should see the instance running
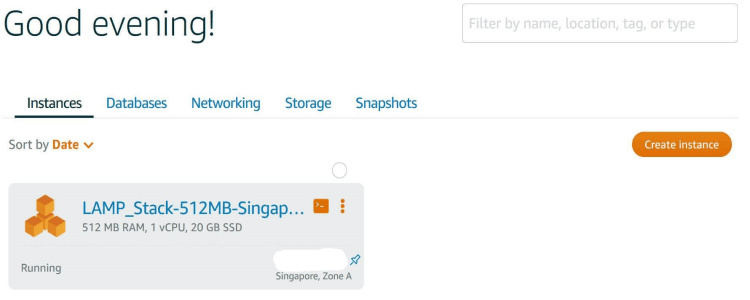
Click the instance and it should give you the following page.
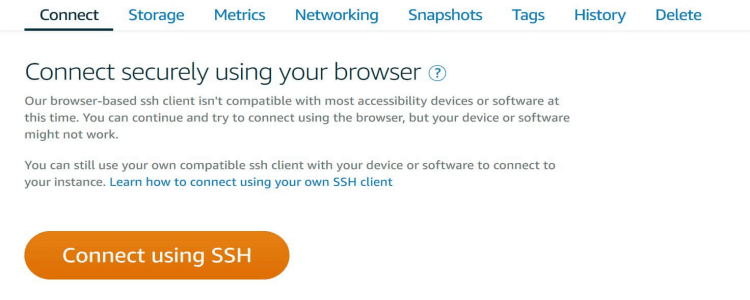
Click “Connect using SSH”. This should popup a window (Unix command line interface) using which you can access the Unix server.
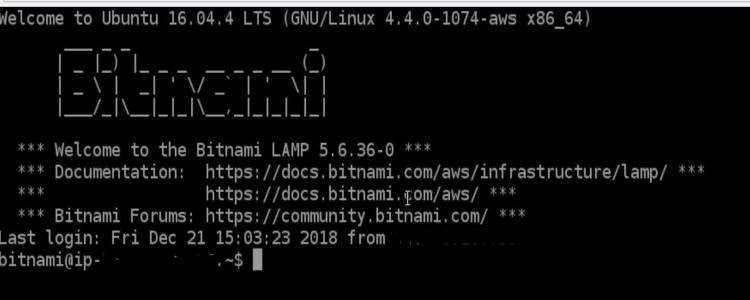
Run the following commands to get the Joomla file and install. Don’t forget to change the Joomla version in “wget’ command. Once the installation starts, you have to specify the installation directory to “/opt/bitnami” and set your preferred password.
 sudo /opt/bitnami/ctlscript.sh stop
 cd
 wget "https://bitnami.com/redirect/to/289923/bitnami-joomla-3.8.12-0-linux-x64-installer.run"
 chmod +x ./bitnami-joomla-3.8.12-0-linux-x64-installer.run
 sudo ./bitnami-joomla-3.8.12-0-linux-x64-installer.run --disable_glibcxx_version_check 1
 sudo /opt/bitnami/ctlscript.sh start
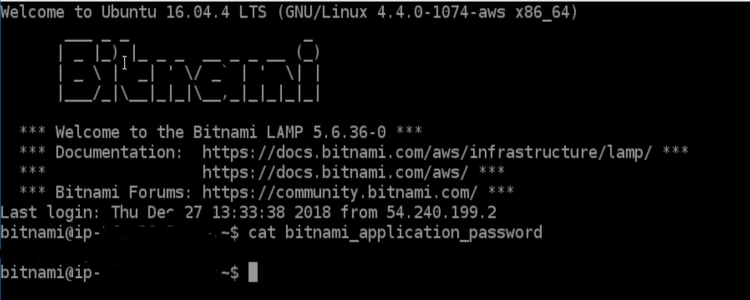
Once you have successfully installed Joomla, you need to get the administrator credentials by using the following command. Username is either “user” or “bitnami”.
cat bitnami_application_password
Once you have the username and password, open a new browser tab and type in the public IP assigned to you and press enter to see the default joomla page.
To point your web domain to this IP or instance, login to your domain registrar (godaddy, namecheap, etc) and point the “A” record to this IP and you are all set.
Congratulations!! you have your Joomla website on lightsail.
I hope this article helped you. If you have any queries, please feel free to comment or contact me here for any help.