
27
Dec
In this post, we are going to explore on how to install Let’s Encrypt certificate on Joomla website hosted on Amazon Lightsail to secure your website.
In my previous blog post, I wrote about setting up Host joomla on Amazon Lightsail Amazon offers an amazing platform to host your website on a Virtual Private Server (VPS) for a reasonable cost. I have been blogging since 2009 and I remember the cost of VPS would start at 30$ per month. Today, the cost is 10 times cheaper and the infrastructure is reliable and scalable.
There are lots of advantage in having your website hosted on a virtual private server however, there is one drawback which I see is managing and maintaining the server by yourself. Honestly, maintaining a website is not an easy task. Apart from publishing quality contents, you also have to take care of security, privacy, updates to the Joomla system and the underlying systems like PHP. With any virtual private server, you have to maintain the server and it is time consuming.
Your website is incomplete without HTTPS. Search engines prefer and rank based on HTTPS so that is another reason to enable HTTPS on your website.
In simple term, HTTPS is a protocol which provides secure(encrypted) communication or data transfer over the network(internet). For websites, the encryption is provided through Secure Socket Layer(SSL). The reason to use HTTPS in your website is to provide authentication of the accessed data like user profile information which includes email and protection of the privacy and integrity of the exchanged data.
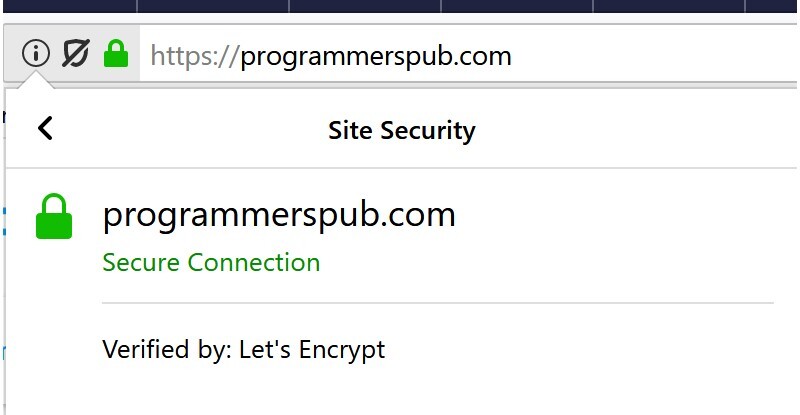
How do you identify whether HTTPS is enabled in any website. You can see a green padlock before the website address as shown

In the olden days or even these days, we have to purchase the SSL certificate to enable HTTPS. But today, we can get it for free thanks to Let’s Encrypt!
Let’s Encrypt is a free, automated, and open certificate authority (CA), run for the public’s benefit. It is a service provided by the Internet Security Research Group (ISRG). It is a Linux foundation collaborative project to create a more secure and privacy-respecting Web.
If you like to learn more, head over to Let’s Encrypt website.
In Amazon Lightsail, you can get a pre-configured images by bitnami or any linux servers. The steps to install the SSL certificate is the same for all server.
If you have the latest bitnami stack, look for the script in the /opt/bitnami/letsencrypt/directory. Bitnami has included a small tool to make the process easier for us.
Execute the following command to auto-configure a Let’s Encrypt certificate in your stack for a domain, both with and without the www prefix. Replace the YOURMAIL and YOURDOMAIN placeholders with your current email and with the domain name.
sudo /opt/bitnami/letsencrypt/scripts/generate-certificate.sh -m YOURMAIL -d YOURDOMAIN -d www.YOURDOMAIN
These are the list of available ACME clients with which you can install the SSL certificates.
The Lego client simplifies the process of obtaining Let’s Encrypt certificate. First, we need to download the lego client. Login to your server and run the following commands. Don’t forget to replace the X, Y, Z in lego_vX.Y.Z_linux_amd64 with the recent version of lego client. To find the latest version go to lego github repository.
cd /tmp
curl -s https://api.github.com/repos/xenolf/lego/releases/latest | grep browser_download_url | grep linux_amd64 | cut -d '"' -f 4 | wget -i -
tar xf lego_vX.Y.Z_linux_amd64.tar.gz
sudo mv lego /usr/local/bin/lego
Once you have downloaded and installed the lego client successfully, we will generate the Let’s Encrypt certificate for your domain. Stop all the services in bitnami stack using the following command. If you are using any other image, stop the httpd, database and PHP.
sudo /opt/bitnami/ctlscript.sh stop
Run the following command to request a new certificate for your domain. As a best practice, always request for a new certificate with and without www. Remember to replace the DOMAIN placeholder with your actual domain name, and the EMAIL-ADDRESS placeholder with your email address.
sudo lego --email="EMAIL-ADDRESS" --domains="DOMAIN" --domains="www.DOMAIN" --path="/etc/lego" run
if you have done everything correctly, it will ask you to agree to the terms and conditions. Once done, a set of certificates will now be generated in the /etc/lego/certificates directory. This set includes the server certificate file DOMAIN.crt and the server certificate key file DOMAIN.key.
It is best to create a link to the certificate in apache folder rather than moving or copying the certificates.
Run the following command to take backup of any existing or default certificate that comes with the bitnami image or any other image.
sudo mv /opt/bitnami/apache2/conf/server.crt /opt/bitnami/apache2/conf/server.crt.old
sudo mv /opt/bitnami/apache2/conf/server.key /opt/bitnami/apache2/conf/server.key.old
sudo mv /opt/bitnami/apache2/conf/server.csr /opt/bitnami/apache2/conf/server.csr.old
Run the following command to create a link to the certificate and the key
sudo ln -s /etc/lego/certificates/DOMAIN.key /opt/bitnami/apache2/conf/server.key
sudo ln -s /etc/lego/certificates/DOMAIN.crt /opt/bitnami/apache2/conf/server.crt
Run the following command to change the file permissions so it can be read by root user only.
sudo chown root:root /opt/bitnami/apache2/conf/server*
sudo chmod 600 /opt/bitnami/apache2/conf/server*
Once everything is done, restart the apache services using the following command for bitnami images
sudo /opt/bitnami/ctlscript.sh start
Open a new browser window and type in https://DOMAIN and https://www.DOMAIN (replace the DOMAIN placeholder with the your domain name). You should see a green padlock icon next to your domain name and if you click on it, a small window open which says “secure connection” “Verified by Let’s Encrypt”.
Now that you have installed and configured the Lets Encrypt certificate correctly, you need to renew the SSL certificate every 90 days.
Lets automate the process by creating a script which can run every 90 days or 30 days as per your schedule. Go to /etc/lego/. If you have permission issues accessing /etc/lego, login as root user. Create a script and name it renew-certificate.sh and type in the following lines. Remember to replace the email address and domain name.
  #!/bin/bash

sudo /opt/bitnami/ctlscript.sh stop
sudo /usr/local/bin/lego --email="EMAIL-ADDRESS" --domains="DOMAIN" --path="/etc/lego" renew
sudo /opt/bitnami/ctlscript.sh start
Make the script executable using the command
chmod +x /etc/lego/renew-certificate.sh
Type in the following command to open the crontab editor to schedule the script.
sudo crontab -e
Add the following line in the crontab file to schedule the script to run 1st of every month.
0 0 1 * * /etc/lego/renew-certificate.sh 2> /dev/null
By following these steps you can set up Let’s Encrypt SSL certificate which is valid for 90 days. You can either renew it every 30 days or at the end of 90 days period. Please comment if you need any help.